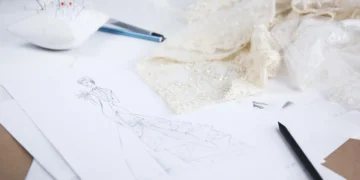

Fashion sketching is the process of translating garment ideas onto paper or screen using a stylized figure called a croquis to communicate silhouette, drape, and design details. To fashion sketch effectively, map out a balanced 9-head proportional figure frame, layer realistic fabric folds over key anchor points, and apply targeted shading and color to bring garment construction to life.
What is a fashion sketch and how does it differ from fine art?
A fashion sketch is a functional design drawing created to capture the proportion, movement, and silhouette of a garment. Unlike fine art life drawing, which aims for anatomical accuracy and realistic body ratios, fashion sketching relies on stylized proportions to emphasize how clothing fits and flows on a form. The human figure serves as a frame for the design rather than the primary artistic subject.
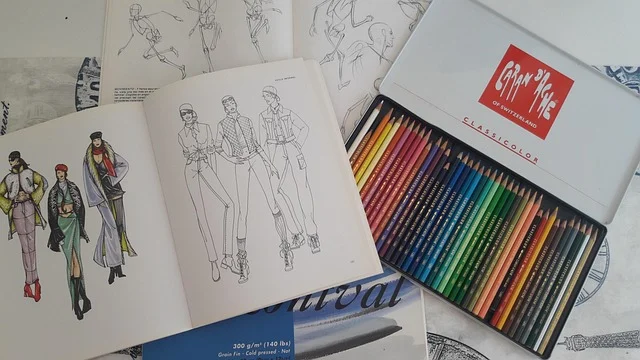
A fashion sketch is also distinct from a technical flat sketch. Technical flats—often called production drawings or spec sheets—are flat, two-dimensional black-and-white vector drawings that show precise seams, stitches, closures, pockets, and dimensions for patternmakers and garment factories. A fashion sketch, by contrast, conveys mood, movement, styling, and fabric behavior on a three-dimensional body figure.
Fashion sketching is not designed for every workflow. If your immediate need is providing precise manufacturing specifications for factory production, you should create technical flats instead. Similarly, if your goal is fine art portraiture or anatomical drawing, traditional fine art techniques apply rather than fashion croquis conventions.
What tools do you need to start fashion sketching?
Starting to sketch fashion does not require an elaborate studio setup. You can produce high-quality sketches with a minimal selection of standard drawing supplies before deciding whether to invest in specialized rendering tools or digital graphic tablets.
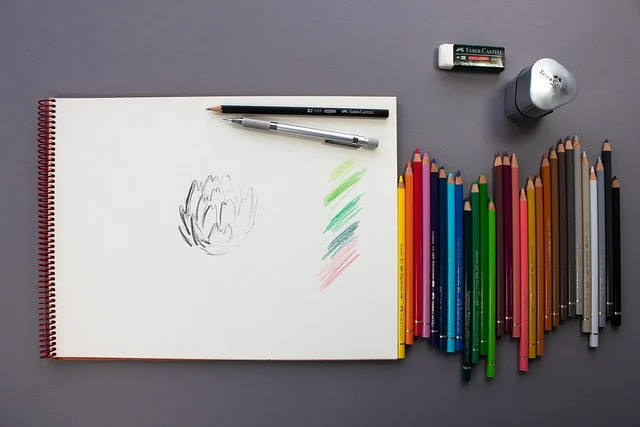
- Graphite Pencils: Use an HB pencil for faint initial guideline plotting, a 2B pencil for main garment outlines, and a 4B pencil for deep shadow areas. Also, a 0.5mm mechanical pencil with HB lead provides sharp precision for topstitching, buttonholes, and fine trim details.
- Erasers: A kneaded eraser lifts excess graphite without tearing paper fibers or smudging delicate ink lines. Meanwhile, a hard vinyl block eraser handles outer layout borders and completely removes construction guidelines.
- Paper Options: Marker paper is thin, translucent, and coated to prevent alcohol ink from bleeding through or soaking into the page. Next, Bristol board with a smooth finish provides a sturdy, heavy surface suitable for multi-medium rendering with ink, colored pencils, and light gouache. For initial daily practice, standard 70lb sketchbook paper works well.
- Color Mediums: Alcohol-based markers provide smooth color coverage without warping paper pages. Also, quality colored pencils allow you to layer subtle skin tones, shade fabric folds, and add fine textile grain textures.
- Digital Tools: Drawing tablets running apps such as Procreate, Adobe Fresco, or Clip Studio Paint offer pressure-sensitive brush engines that replicate traditional markers, watercolors, and pencils with layer-based editing flexibility.
How do fashion croquis proportions work?
The foundation of fashion sketching is the croquis—a stylized outline of the human figure. In fashion illustration, the croquis relies on a head-unit measurement system where the height of the figure’s head establishes the scale for the rest of the body.
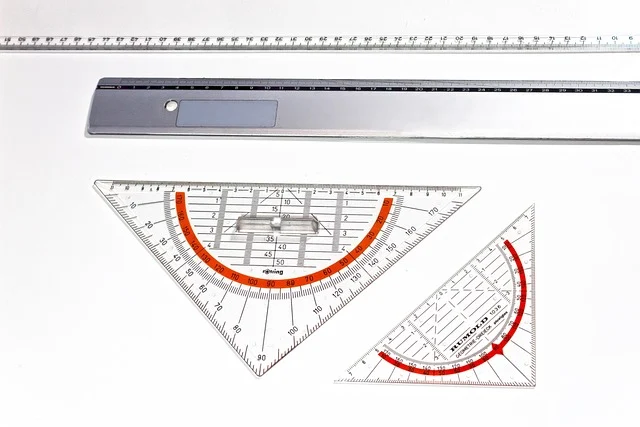
While an average human body measures roughly 7 to 7.5 heads tall, standard fashion croquis use a 9-head proportion system. This elongation lengthens the legs and torso, giving garments a graceful presence on the page while emphasizing hemline length and vertical style lines.
The 9-head proportion grid breakdown
- Head 1 (Top mark to chin): The full head and face profile.
- Head 2 (Chin to bust line): Covers the neck, shoulders, and upper chest line. The shoulder width spans approximately 1.5 head units.
- Head 3 (Bust line to natural waist): Extends through the ribcage down to the narrowest point of the waist.
- Head 4 (Waist to hip line): Covers the lower abdomen and full hip area, including the pelvic anchor line.
- Head 5 (Hip line to mid-thigh): Extends down the upper thighs, ending at the midpoint of the upper leg.
- Head 6 (Mid-thigh to bottom of knees): Covers the lower thighs down through the knee joints.
- Head 7 (Bottom of knees to lower calves): Extends through the calf muscles.
- Head 8 (Lower calves to ankles): Covers the lower leg down to the ankle joints.
- Head 9 (Ankles to tips of toes): The elongated feet and toes, drawn pointed downward as if in high heels.
Comparing figure proportion standards across design categories
| Proportion System | Target Category | Visual Characteristic | Primary Application |
|---|---|---|---|
| 6-Head Figure | Childrenswear & Toddlers | Larger head ratio, short limbs, rounded torso | Kids apparel lines, playwear, juvenile design |
| 8-Head Figure | Commercial Ready-to-Wear | Realistic body proportions, relatable silhouette | Mass-market retail, activewear, size-inclusive catalogs |
| 9-Head Figure | Standard Fashion Design | Elongated legs, slender torso, dynamic posture | Industry design portfolios, runway collection concepts |
| 10-Head Figure | Haute Couture & Editorial | Ultra-elongated limbs, exaggerated waist and neck | Avant-garde editorial illustration, luxury house concepts |
How to draw a fashion croquis step by step
Drawing a dynamic croquis requires establishing a balanced center axis before filling in body volumes. Follow these steps to construct a reliable 9-head figure template from scratch.
- Establish the balance line: Draw a straight vertical line from top to bottom through the middle of your paper using a ruler. This balance line acts as the figure’s central gravity axis. Next, mark horizontal dashes at equal intervals to create nine equal head sections.
- Plot major body landmarks: Draw an oval for Head 1. First, mark horizontal structural lines for the shoulders (at 1.5 heads down), the waist line (at Head 3 mark), and the hip line (at Head 4 mark). Make the shoulders roughly 1.5 head units wide and the hips 1.25 head units wide.
- Apply shoulder and hip tilt: To create a natural posture, tilt the shoulder line in one direction (for instance, dipping slightly on the left) and angle the hip line in the opposite direction (dipping on the right). Ensure the vertical balance line passes directly through the throat notch and lands squarely on the weighted foot.
- Block out geometric limbs and joints: Use geometric shapes to represent body segments. Next, draw trapezoids for the upper torso and pelvis. Place small circles for shoulder, elbow, wrist, knee, and ankle joints. Connect joints with light gesture lines representing arms and legs.
- Refine silhouette contours: Draw smooth, sweeping outer lines over your geometric layout to form the neck, waist curve, hips, thighs, and calves. Keep muscle definition subtle so it does not interfere with clothing details. Erase interior guidelines once the figure boundary is clear.
How to drape clothes and draw realistic fabric folds
Once your figure outline is set, layering clothing requires understanding how fabric responds to gravity, body contact, and material stiffness. Garments sit slightly away from the skin and suspend from key anchor points across the body.
Identifying garment anchor points
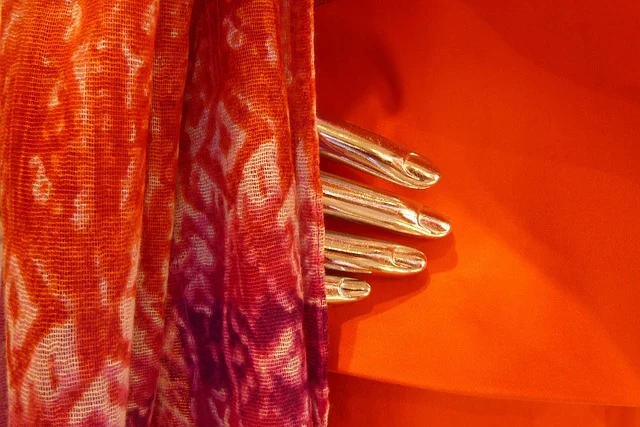
Anchor points are body areas where fabric sits flush against skin and supports the weight of the garment. When a sleeve hangs from a shoulder or a waistband grips the hips, these contact zones generate tension points. Folds radiate outward from these anchor zones across the body form.
The six essential fabric fold types
- Pipe Folds: Cylindrical, tubelike folds formed when fabric hangs freely from a single gathering point, common on loose skirts, capes, and unbelted hemlines.
- Zig-Zag Folds: Alternating sharp folds that occur on compressed pant legs, pulled sleeve elbows, or gathered boot cuffs.
- Spiral Folds: Fabric wrapping around rounded limbs, seen on fitted jersey sleeves, leggings, or turtleneck collars.
- Half-Lock Folds: Inward collapsing folds that appear where a joint bends sharply, such as behind the knees or inside the inner elbow.
- Diaper Folds: Sagging, curving folds created when fabric hangs between two support points, typical on cowl necklines or draped backs.
- Drop Folds: Loose, vertical folds caused by gravity pulling hanging material straight down from an unconstrained edge.
Accounting for fabric weight and stiffness
Heavy materials like thick wool felt, rigid denim, or structured leather produce large, blocky folds with hard shadow edges. However, soft, lightweight materials like silk chiffon, rayon jersey, or satin produce small, numerous, fluid folds with soft shadow gradients. Adjust your line depth and shadow softness to match the material weight.
How to render different fabric textures and finishes
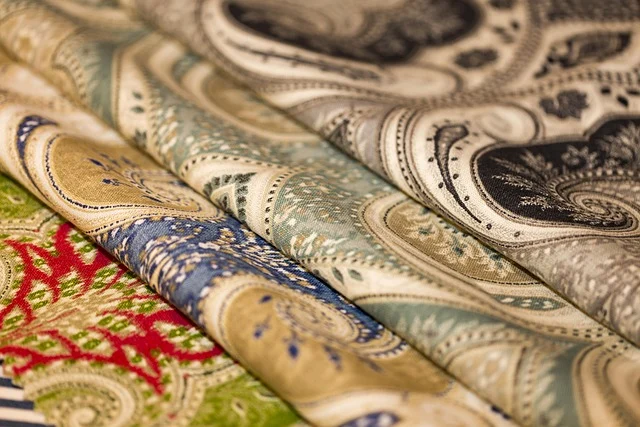
Rendering communicates textile texture visually through line density, contrast, and highlight placement. For example, study the work of diverse fashion illustrators to observe how experienced artists simplify complex fabric surface textures into expressive graphic strokes.
Silk and satin
High-shine fabrics feature crisp contrast between deep shadow pools and bright highlight areas. Apply smooth marker blending for mid-tones, then leave unpainted white paper showing through on high-point curves—such as shoulders, bust peaks, and thigh folds—to simulate specular shine.
Denim and canvas
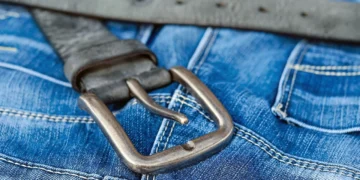
Woven twill fabrics require subtle directional texture. Next, use dry colored pencil strokes over base marker color to create light diagonal cross-hatching. Add fine double lines along seams using a white gel pen or 0.5mm mechanical pencil to indicate topstitching details.
Knitwear and tweed
To suggest wool knits or heavy tweed without drawing every yarn thread, render the overall garment base color first. Then add tiny repeating V-shape stitch marks or soft dot clusters along shadow edges and ribbed cuffs, keeping flat interior panels simple.
Sheer and transparent fabrics
For chiffon, organza, or mesh, draw the full body figure outline and undergarment details first. Layer a light marker wash over the top, allowing skin tone and undergarments to show clearly through the fabric veil. Add crisp line accents along folded edges and hem seams.
Leather and patent leather
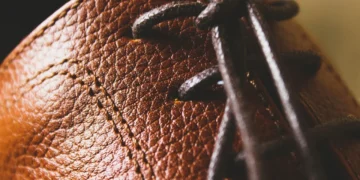
Standard leather features rich, saturated shadows and tight, angular folds. Patent leather requires extreme visual contrast: dark shadow shapes positioned directly next to unshaded white highlights with clean, hard edges.
Traditional vs digital fashion sketching: Which should you choose?
Both traditional hand sketching and digital tablet workflows are widely used in professional fashion studios. The best option depends on whether you value tactile responsiveness and paper portability or digital layer editing flexibility and fast file distribution.

| Evaluation Criteria | Traditional Sketching | Digital Sketching |
|---|---|---|
| Tools & Equipment | Pencils, marker paper, alcohol markers, erasers | Graphics tablet (iPad/Wacom), digital stylus, drawing app |
| Initial Setup Cost | Low ($15 – $60 for basic starter supplies) | High ($350 – $1,200+ for tablet, pen, and software) |
| Editing Flexibility | Low; permanent ink strokes require redrawing | High; layer control, undo history, quick color adjustment |
| Learning Curve | Focuses on manual pressure control and line speed | Requires mastering app navigation, brushes, and layers |
| Portability | Requires carrying paper pads, marker sets, and pencils | Single tablet device with built-in brush engines |
| Workflow Output | Requires high-resolution scanning or photo capture | Instant export to PNG, PDF, vector files, or digital range boards |
If you prefer tactile paper feedback and rapid thumbnail brainstorming, traditional media offers an direct connection. However, if you are developing commercial range boards or presenting client collections with frequent colorway adjustments, digital platforms allow fast changes on separate visual layers.
Common mistakes in fashion sketching and how to fix them
When practicing how to fashion sketch, beginners frequently run into predictable design habit issues. Identifying these habits early speeds up your improvement.
Common mistakes in Fashion sketching include:
- Drawing rigid, static figures: Keeping shoulders and hips perfectly horizontal makes figures look stiff and lifelike posture is lost. Fix: Angle the shoulder line opposite to the hip line (contrapposto) and add a subtle curve to the balance spine line.
- Painting garments directly onto skin: Drawing clothes clinging tight to every figure contour removes the illusion of fabric thickness. Fix: Leave air space between figure boundary lines and garment outlines, extending hemlines and shoulder lines outward.
- Over-rendering interior details: Covering every inch of fabric with heavy shading creates cluttered visual noise. Fix: Establish a single light source direction and shade only fold recesses, under-arm seams, and deep pleats.
- Omitting structural seamlines: Skipping darts, side seams, waistbands, and hemlines makes garments look unwearable. Fix: Always sketch functional seamlines, zipper lines, topstitching, and facings to ground your drawing in realistic construction.
Refining your technique: Advanced tips for fashion sketches
Practical methods for improving your Fashion sketches involve developing focused drawing habits that bridge original concept ideas and clear visual communication.
- Vary line weight for depth: Use heavy, dark strokes on outer garment boundaries and deep shadow edges. Use delicate, thin lines for interior seams, dart lines, fabric patterns, and trims.
- Work next to physical fabric swatches: Keep fabric swatches near your workspace while drawing. Observing material weight and light reflection directly under room light informs realistic shading choices.
- Focus shading on focal points: Avoid shading every part of a garment equally. Render details around key features—such as a tailored collar, structured waist belt, or asymmetric hem—and keep broad skirt panels simple.
- Integrate footwear and styling: Complete your croquis with clean shoe outlines and simple hair shapes. Well-proportioned shoes anchor the figure balance line and complete the collection aesthetic.
Sources: Fashion Design
Frequently asked questions
How long does it take to learn fashion sketching?
You can learn basic croquis grid construction and fabric drape principles within three to four weeks of regular daily practice. Developing fluid line confidence, complex texture rendering skills, and a distinct personal style usually takes six to twelve months of consistent work.
Do I need to be good at realistic drawing to sketch fashion?
No prior fine art drawing experience is necessary. Fashion sketching relies on stylized proportional grids, simplified geometric shapes, and clear visual design communication rather than hyper-realistic anatomical art.
What is the difference between a fashion sketch and a technical flat?
A fashion sketch shows garments on a stylized 3D figure frame to convey mood, silhouette, drape, and aesthetic styling. A technical flat is a flat two-dimensional line drawing detailing exact factory seams, trims, closures, and construction specs for patternmakers.
What paper is best for rendering with alcohol markers?
Bleed-proof marker paper or smooth plate-finish Bristol board works best for alcohol markers. Standard printer paper or light sketchbook paper absorbs excessive ink, bleeds through sheets, and causes feathering along clean garment lines.
Can I draw fashion garments on realistic body proportions instead of a 9-head croquis?
Yes. Many designers choose an 8-head or 7.5-head realistic figure when designing commercial ready-to-wear, activewear, size-inclusive garments, or retail catalog collections to show how clothes fit everyday body shapes.