




Learning jewelry making starts with mastering basic stringing, wire wrapping, and component assembly using three essential pliers—round-nose, chain-nose, and flat-nose. As a result, you can create durable custom pieces at home without expensive machinery.
Setting up an efficient workspace requires only a flat surface, directional lighting, and a bead mat to manage small findings and beads. Selecting appropriate wire gauges, findings like jump rings and clasps, and stringing materials ensures your handmade pieces retain their shape and structural integrity.
This guide covers workstation organization, tool and material selection, and stringing medium comparisons. Also, it provides step-by-step core assembly techniques and starter projects to build your crafting skills.
How to Start Jewelry Making: Basic Techniques, Tools, and Beginner Projects
To start jewelry making, gather three essential pliers (round-nose, chain-nose, flat-nose), wire cutters, flexible beading wire or elastic cord, beads, and basic findings like jump rings and clasps. Next, begin by stringing beads onto wire, securing the ends with crimp beads and clasps. Alternatively, use round-nose pliers to bend simple wire loops on headpins.
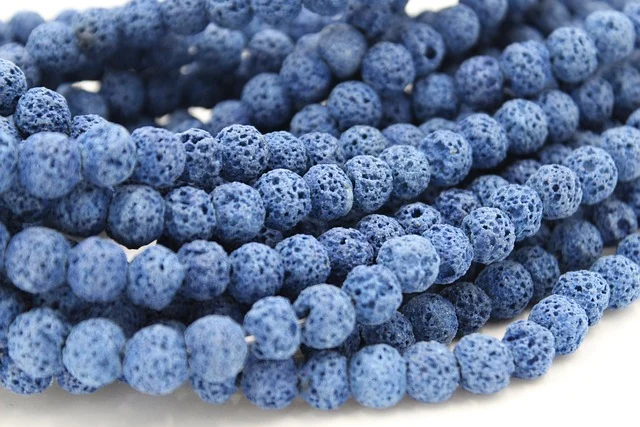
Learning how to jewelry making requires building foundational skills before moving on to complex metalsmithing or stone setting. By mastering basic stringing, wire wrapping, and proper component assembly, you can create durable, custom jewelry pieces from your home without expensive machinery.
How do you set up an efficient jewelry making workstation?
You do not need a dedicated commercial studio to learn how to start making jewelry. For example, a flat desk, clear table corner, or sturdy tray provides ample space for initial assembly and wirework. The key requirements are focused lighting, flat surface stability, and effective component containment.
Position a directional desk lamp directly over your workspace to eliminate harsh shadows and prevent eye fatigue when handling small beads. Lay down a felt or rubberized bead mat across your table. The soft surface stops round beads from rolling away and buffers delicate metal components against scratches. For beginners, a portable kit with core tools provides an affordable starting point before purchasing heavy studio equipment.
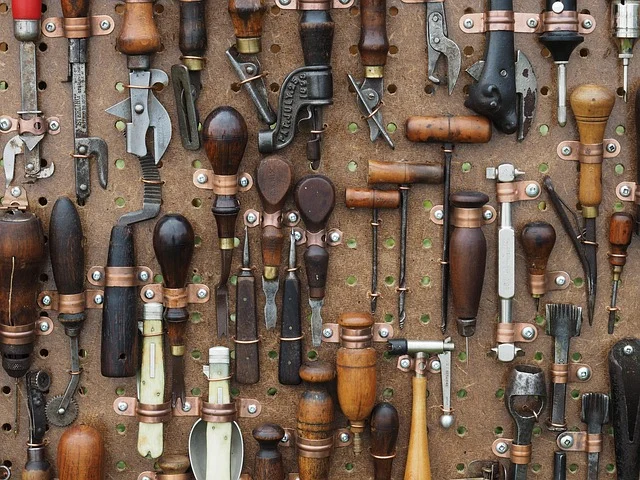
Organization prevents lost findings and ruined projects. First, use clear plastic storage boxes with individual compartments to sort jump rings, ear wires, and crimp tubes by finish and size. Keeping tools within arm’s reach on a magnetic strip or upright stand prevents accidental drops and blade damage to cutters.
What tools are required for beginner jewelry making?
To establish a functional jewelry making setup, you must invest in purpose-built hand tools. However, household pliers and hardware store wire cutters possess serrated jaws. Because these coarse blades scratch delicate metal wire, they mar structural loops.
- Round-nose pliers: These pliers feature two smooth, conical jaws that taper to fine points. They are designed specifically for forming circular loops, eye pins, and curves in craft wire.
- Chain-nose pliers: Featuring flat inner jaw surfaces and a tapered outer point, chain-nose pliers allow you to grip small findings, open jump rings, and make sharp right-angle wire bends in tight spaces.
- Flat-nose pliers: With wide, flat jaws, these pliers provide extra surface area and use for flattening wire, opening large jump rings, and holding components firmly.
- Flush wire cutters: Unlike diagonal household cutters, flush cutters have one flat side and one angled side. Cutting wire with the flat side facing your project yields a perfectly flat end without sharp burrs.
- Bead mat: A non-slip felt or foam pad that holds small beads and prevents loose pieces from bouncing onto the floor.
According to Honho Jewelry’s 2026 guide, a good beginner’s plier set can range from $20 to $40, offering significant value for their utility. Collecting these essentials enables you to execute dozens of structural wire and stringing techniques cleanly.
Which materials and findings should you choose?
Selecting suitable materials determines both the appearance and physical longevity of your jewelry. Decorative components like beads provide aesthetic character, while functional components called findings secure the piece together.
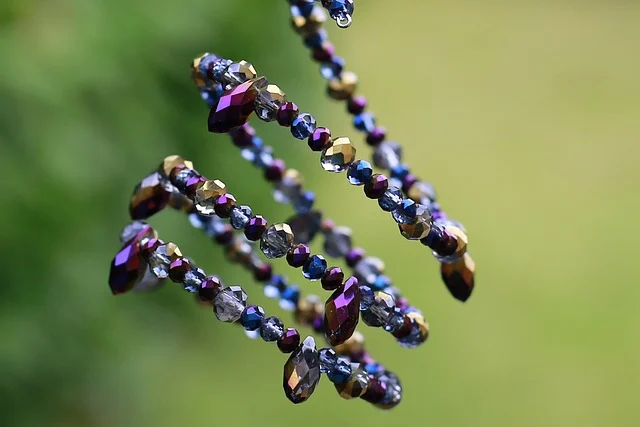
For beginners, glass, wood, acrylic, and semi-precious stone beads offer reliable durability and wide color variety. Match your bead choice with appropriate findings, which include:
- Jump rings: Split metal rings used to join charms, clasps, and chain segments.
- Clasps: Mechanical fasteners such as lobster claws, spring rings, and toggle clasps that close necklaces and bracelets.
- Headpins and eyepins: Metal wires with a flat stop or pre-formed loop at one end, used to convert individual beads into dangles or charms.
- Crimp beads and tubes: Small, soft metal sleeves compressed with pliers to anchor beading wire to clasps.
Wire thickness is measured in American Wire Gauge (AWG), where lower numbers represent thicker wire. A 18-gauge wire is thick and structural, suitable for sturdy bangles or heavy clasps. A 20-gauge wire works well for ear wires and jump rings, while 24-gauge and 26-gauge wires are thinner and ideal for wire wrapping small gemstones.
The choice of base metal impacts skin safety and long-term wear. Standard plated base metals are inexpensive for practice, but their surface layer can wear off over time. For lasting quality and hypoallergenic wear, choose sterling silver, gold-filled, or surgical stainless steel findings. Using cheap, reactive metals can cause skin discoloration or early metal failure, diminishing the overall quality of your work.
How do core jewelry stringing materials compare?
Choosing the correct stringing medium keeps your necklace or bracelet shaped properly. It also supports the total weight of its beads without snapping. Use this comparison table to select the right material for your project.
| Material Type | Best Used For | Durability | Required Closure Method | Difficulty |
|---|---|---|---|---|
| Flexible Beading Wire | Beaded necklaces, heavy glass or gemstone strands | High (Multi-strand stainless steel core with nylon coating) | Crimp beads and crimp covers | Beginner |
| Elastic Stretch Cord | Clasp-free stretch bracelets, rapid fashion designs | Moderate (Prone to stretching over time if over-stretched) | Surgeon’s knot secured with jewelry adhesive | Beginner |
| Solid Craft Wire | Wire wrapping, structural hoops, chain links, pendants | High (Work-hardens when manipulated) | Wrapped loops or forged ends | Intermediate |
| Nylon / Silk Thread | Pearl knotting, delicate seed bead weaving | Moderate (Requires protection from water and friction) | Precision knots, clam shell bead tips, or thread burners | Intermediate |
How do you perform core jewelry making techniques?
Every jewelry design relies on a small set of repeating physical assembly techniques. Practicing these foundational maneuvers ensures clean joint connections and professional structural finishes.
1. Beading and stringing
Stringing involves placing beads onto a flexible strand in a balanced sequence. Cut your beading wire 3 inches longer than the desired finished length. Thread a crimp bead onto the end, pass the wire through your clasp loop, and feed the wire back through the crimp bead. Slide the crimp bead close to the clasp—leaving a tiny gap for movement—and squeeze the crimp firmly flattened with chain-nose pliers. Slide your main beads over both the main strand and the short tail, then finish the opposite end with a second crimp and clasp.
2. Forming simple wire loops
For this jewelry making how-to, drop the bead onto a headpin to turn it into a dangle. Using flat-nose pliers, bend the exposed wire directly above the bead to a 90-degree angle. Grasp the tip of the wire with round-nose pliers. Next, rotate your wrist smoothly away from yourself to form a complete circular loop. If excess wire remains, trim it flush where the wire end meets the stem.
3. Making wrapped wire loops
Wrapped loops provide superior strength for structural components and heavy pendants in jewelry making. Slide a bead onto a headpin and make a 90-degree bend 2 millimeters above the bead top. Wrap the wire around the upper jaw of round-nose pliers to form a loop, then grip the loop flat with chain-nose pliers. Take the wire tail with a second set of pliers. Next, wrap it tightly around the stem beneath the loop two to three times. Snip excess wire flush and tuck the end down flat.
4. Opening and closing jump rings correctly
Never pull a jump ring open by spreading the ends directly apart, as this deforms the circular shape permanently. Instead, hold one side of the jump ring split with chain-nose pliers and the other side with flat-nose pliers. Twist your wrists in opposite directions to rotate one end forward and the other back. Slide your component onto the open ring, then reverse the twisting motion until the two metal ends meet with a slight click.
5. Basic metal stamping
Personalized metal stamping requires a steel bench block, a metal stamp set, stamping tape, and a brass casing hammer. Secure a smooth metal blank to the bench block using clear stamping tape, which acts as a straight alignment guide. Hold the metal stamp completely vertical against the blank. Next, strike the top of the stamp once with firm, even pressure using the hammer. Avoid double-striking, which creates blurred shadow impressions.
Three simple jewelry projects for beginners
Putting techniques into immediate practice builds mechanical confidence and hand dexterity. These three starter projects introduce basic wirework and stringing concepts without requiring specialized equipment.
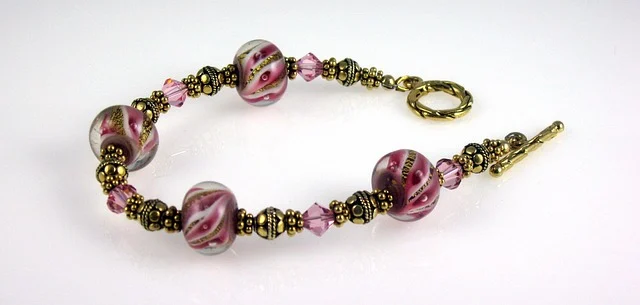
Project 1: Elastic stretch bracelet
First, measure your wrist circumference with a flexible tape measure and add 0.75 inches for bead clearance. Cut a 10-inch length of 0.8mm elastic stretch cord. Pre-stretch the cord by tugging gently along its length to prevent sagging after wear. String your chosen combination of glass or gemstone beads onto the cord.
Tie the loose ends together using a surgeon’s knot: cross the ends, wrap one tail through twice, pull snug, and make a standard square knot over it. Next, dab a drop of clear jewelry adhesive onto the knot, let it dry completely, and pull the knot inside an adjacent large-hole bead to conceal it.
Project 2: Single-strand beaded necklace
Cut a 20-inch piece of multi-strand coated beading wire. Thread one crimp bead and one half of a lobster claw clasp onto one wire end. Loop the wire back through the crimp bead, leaving a millimeter of clear clearance so the clasp swings freely. Squeeze the crimp bead firmly flat with flat-nose pliers, or use a crimping tool to notch and fold it securely.
Thread your chosen bead sequence onto the wire, covering the short wire tail with the first few beads. Once the strand reaches 18 inches, add a crimp bead and a jump ring to the remaining end. Pass the wire back through the crimp bead and final three beads, pull the strand taut, squeeze the crimp, and snip off excess wire flush against the beads.
Project 3: Basic wire-wrapped hoop earrings
Cut two 6-inch pieces of 20-gauge dead-soft copper or sterling silver wire. Next, using a cylindrical mandrel or a small bottle, wrap each wire firmly around the curve to establish a round hoop shape. Bend one end straight up at a 90-degree angle using chain-nose pliers to form an upright stem.
Use round-nose pliers to bend the opposing wire end into a small horizontal hook that catches the stem. Slide decorative accent beads onto the hoop frame, curve the top stem backward into an ear wire hook shape, and smooth the wire tip with a micro-file or cup burr to remove sharp edges before wearing.
What common mistakes ruin handmade jewelry?
Avoiding standard assembly errors keeps your handmade pieces from breaking prematurely or looking unrefined. Pay attention to structural mechanics during assembly.
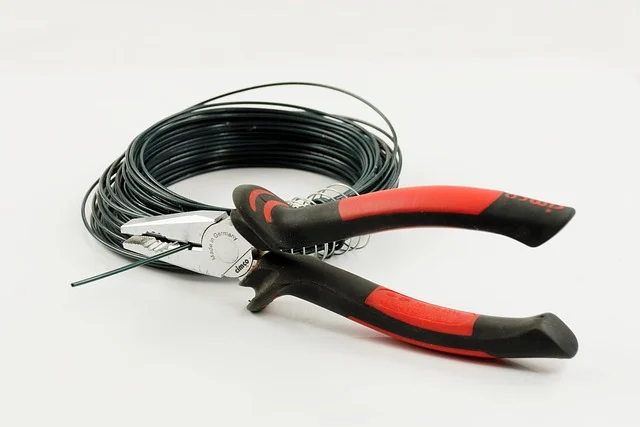
- Using serrated household pliers: Metal hardware tools leave deep gouges on soft wire and silver findings. So, always use smooth-jawed jewelry pliers.
- Pulling jump rings outwards: Pulling jump ring ends wide apart ruins the metal temper and leaves an uneven gap. As a result, always twist jump rings sideways to maintain structural symmetry.
- Crushing crimp beads into flat plates: Applying excessive force with flat pliers can crack thin crimp tubes. As a result, they may slice through inner beading wire. Apply firm, moderate pressure or use a dedicated two-step crimping tool.
- Mismatched wire gauge and bead holes: Forcing thick wire through fragile bead drill holes can chip glass or crack gemstones, while using overly thin wire causes drop pendants to bend out of shape.
- Leaving sharp wire ends: Cut wire tips that are not tucked away or smoothed will catch on clothes and scratch skin. Therefore, check every wrap with your finger to ensure ends sit flush.
What safety precautions should you take?
Working with sharp wire ends, strike tools, and fluid chemicals requires basic protective habits to prevent injury in your workspace.
Always wear impact-resistant safety glasses when snipping wire stems or striking metal stamps with hammers. Flying wire end trimmings can easily cause eye injury. Work in a space with clear ambient ventilation if using jewelry adhesives, patinas, or resin compounds. For detailed guidance on studio setup safety, resources provided by the Society of American Goldsmiths cover health guidelines for independent makers.
Keep small beads, jump rings, and sharp pins stored securely in latched containers away from young children and pets. Next, use a small magnet swept across your work mat after every session to pick up rogue wire scraps or dropped needles.
Who is jewelry making not suited for?
While jewelry making is an enjoyable craft for many, it may not suit everyone:
- People looking for immediate mass production: Creating durable, hand-assembled jewelry demands steady kinetic control, patience, and repetitive manual detail.
- Individuals with severe hand tremors or joint stiffness: Threading tiny seed beads and handling 2-millimeter crimp tubes requires precise fine-motor control, though ergonomic hand tools can ease mild discomfort.
- Crafters unwilling to work with safety gear: Wire wrapping, hammering, and chemical sealing require strict adherence to eye protection and ventilation guidelines.
How can you advance your skills beyond the basics?
Once you are comfortable with basic stringing, wire wrapping, and stamping, you can branch out into specialized disciplines that offer higher creative control:
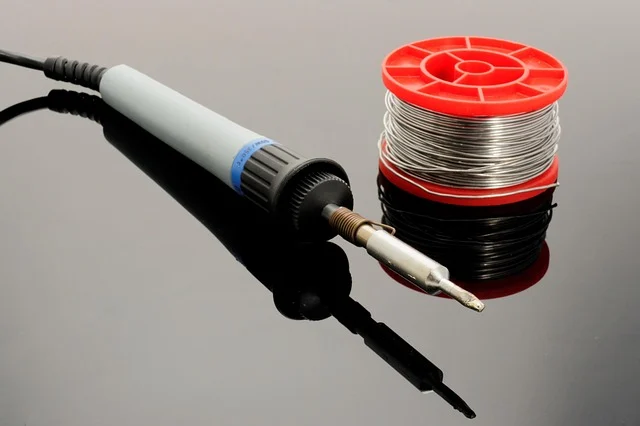
- Metalsmithing: Involves using a jeweler’s saw to pierce sheet metal, soldering torches to fuse structural joints, and metal files to shape silver and copper components.
- Lapidary work: The art of cutting, grinding, and polishing raw stone mineral slabs into smooth cabochons or faceted gemstones.
- Resin casting: Encapsulating organic elements, dried flowers, or pigments inside clear epoxy or UV resin molds to create lightweight pendants and rings.
If you plan to sell your creations on platforms like Etsy or local artisan markets, study market pricing strategies. First, calculate material costs. Multiply your bench assembly time by an hourly wage and account for platform listing fees to set profitable prices.
Related guides
Frequently asked questions
What is the easiest type of jewelry to make for a beginner?
Elastic stretch bracelets and single-strand beaded necklaces are the easiest beginner projects. They require minimal hand tools, take under thirty minutes to finish, and teach core concepts like bead layout and secure knotting or crimping.
What gauge wire is best for beginner jewelry making?
A 20-gauge wire is the best all-around wire size for beginners making ear wires, jump rings, and simple wrapped loops. However, for delicate wire wrapping around small beads, choose 24-gauge wire.
How do you secure a bead knot so it does not unbind?
For a secure knot in how-to jewelry making, tie a surgeon’s knot by passing the tail twice through the loop before pulling taut. Apply a small drop of clear jewelry glue directly to the knot and let it dry fully before trimming the ends.
Do you need specialized pliers to make jewelry?
Yes, smooth-jawed jewelry pliers are necessary to avoid scratching delicate metals and findings. A basic set featuring round-nose, chain-nose, flat-nose pliers, and flush wire cutters covers nearly all beginner assembly techniques.