





Converting a jean to skirt style involves unpicking the inner leg seams, opening the crotch curves, and re-sewing panels flat. This upcycling process transforms worn or ill-fitting denim into a durable, custom piece of clothing. You control the length, fit, flare, and edge finishing while keeping textiles out of landfills.
This guide details the essential tools required for heavy denim, how to select the right starting jeans based on cut and fit, and the various conversion methods available. It also provides step-by-step instructions for creating a classic panel-insert skirt, as well as techniques for longer silhouettes and no-sew adhesive options.
Jean to Skirt: How to Turn Old Jeans Into a Denim Skirt
Turning a pair of pants into a skirt involves unpicking the inner leg seams, opening the front and back crotch curves, and re-sewing the panels flat with or without inserted gussets. Converting a jean to skirt yields a durable, custom piece of clothing from worn or ill-fitting pants using basic sewing tools.
This upcycling technique repurposes old pants while giving you complete control over length, fit, flare, and edge finishing. Whether you want a straight mini skirt, a flowing midi length, or a pleated design, transforming existing denim keeps durable textiles out of landfills and reduces the need for new fabric manufacturing.
What tools and equipment do you need for a jean to skirt project?
Before making any cuts, gather the correct tools. Denim is a heavy woven fabric, often with thick flat-felled seams, so standard paper scissors or fine sewing needles will dull or snap quickly.
- Heavy-duty fabric shears or rotary cutter: Clean, sharp blades are essential for cutting through double-layered denim without fraying the raw edges prematurely.
- Seam ripper: Used to unpick the tight chain-stitching along the inseam and the crotch curve.
- Sewing machine needles (Size 90/14 or 100/16 Denim/Jeans needles): Standard universal needles will break or skip stitches when sewing through heavy denim or seam intersections.
- Heavy-duty thread: Extra-strong polyester or dedicated topstitching thread in gold, amber, or navy matches standard factory denim stitching.
- Tailor’s chalk or fabric marker: Mark horizontal cut lines and triangular panel angles accurately.
- Sewing pins or quilter’s clips: Heavy-duty pins hold multiple layers of thick denim together prior to stitching.
- Iron and pressing cloth: Pressing unpicked denim seams flat before sewing prevents puckering along the new front and back seam lines.
- Insert fabric (optional): Extra denim, bandanas, printed cotton, or canvas panels if you are adding width to create an A-line shape.
- Fabric adhesive or fusible hem tape (no-sew option): High-tack permanent fabric glue or heavy-duty iron-on tape for projects without stitching.
How to choose the right pair of jeans for conversion
The original cut, fabric blend, and rise of your starting pair determine the final silhouette and fit of your skirt. Not every pair of pants transforms in the same manner.
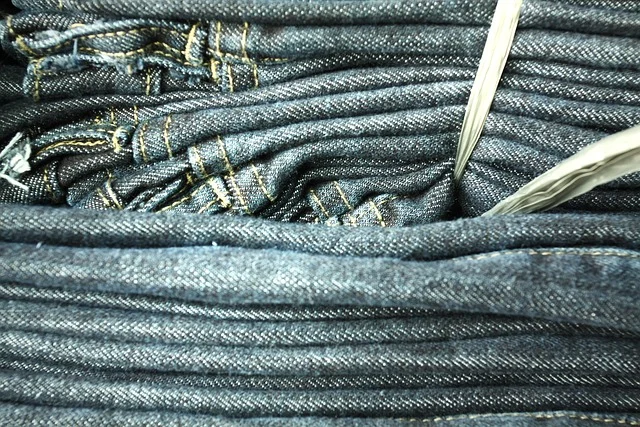
Fabric composition plays a major role.
The cut of the leg dictates how much fabric is available:
- Straight and bootcut jeans: Boot cut jeans and straight cuts provide ample fabric down the lower leg to construct straight mini skirts or narrow A-line shapes without adding extra material.
- Baggy or wide-leg jeans: Choosing baggy or relaxed-fit jeans gives you maximum fabric width, allowing wider panel inserts and longer hemlines without needing a second donor garment.
- Skinny jeans: Slim or skinny cuts yield tight, pencil-style mini skirts. Because they lack leg width, you must insert side or front triangular panels if you want an A-line shape.
Fit at the waist and hips is the most important criteria. The original waistband should fit comfortably around your waist or hips where you intend the skirt to sit. Altering a waistband requires removing belt loops and taking in the heavy waistband core, which increases the complexity of the project significantly.
Who this project is not suitable for
Converting a pair of pants into a skirt is not ideal if you are trying to make a full-length maxi skirt out of a single pair of tight, low-rise skinny pants without supplementary yardage. It is also unsuitable for denim with severe fabric deterioration around the upper inner thighs, as unpicking those damaged sections leaves holes right down the central front or back seams.
Why denim upcycling remains popular
Repurposing existing garments directly reduces environmental load. The manufacturing of new synthetic and cotton garments consumes significant energy and water resources. According to data published by the Environmental Protection Agency (EPA), textile waste accounts for millions of tons of solid municipal waste annually. Diverting heavy fabrics like denim into sustainable fashion projects extends the lifecycle of durable cotton fibers.
Beyond environmental benefits, upcycling offers complete design customization. You can choose exact finished lengths, adjust pocket placements, integrate contrast fabrics, or leave raw frayed hemlines that commercial off-the-rack garments rarely offer.
Comparing denim skirt conversion methods
Select the technique that matches your sewing proficiency, available fabric, and target skirt shape.

| Conversion Method | Skill Level | Fabric Required | Resulting Silhouette | Best Used For |
|---|---|---|---|---|
| Classic Overlap (No Panels) | ||||
| Triangular Panel Insert | ||||
| Two-Pair Extension | ||||
| Pleated Insert Method | ||||
| No-Sew Adhesive Method |
Step-by-step: How to make a classic panel-insert jean skirt
The panel-insert technique is the standard approach for converting standard jeans into an A-line skirt. This method uses the original waistband and pockets, opening the inner leg seams to form flattened panels reinforced with fabric triangular gussets.

Step 1: Trim the pant legs to length
Put on the jeans and mark your desired hemline with tailor’s chalk while standing straight. Add 1.5 inches (3.8 cm) below your mark to allow for hemming. Lay the jeans flat on a cutting mat and cut across both legs using fabric shears. Reserve the discarded lower leg fabric, as it will serve as your triangular filler panels.
Step 2: Unpick the inner leg and crotch seams
Turn the jeans inside out. Take your seam ripper and carefully slice the threads along the entire inseam from the bottom trimmed hem up through the crotch point. Next, unpick the curved crotch seam on both the front and back:
- Front crotch seam: Unpick upwards until you reach the base of the metal fly zipper (usually 1 to 2 inches below the zip base).
- Back crotch seam: Unpick upwards along the rear curve until the fabric can lay flat without puckering or bunching (typically right up to the back yoke line).
Step 3: Flatten and overlap the center seams
Turn the garment right side out and place it on a flat ironing board. Smooth the front crotch flap over the opposite side so that the two leg panels lie flat against each other. You will notice a triangular gap at the bottom center. Pin the overlapping center-front seam straight down, keeping the fly straight. Repeat this flattening process for the center-back seam. Press both seams flat using a hot iron with steam.
Step 4: Cut and insert the triangular panels
Measure the triangular gap formed at the front and back hemlines when the skirt is flattened to your desired width.
- Take the leg fabric you cut off in Step 1 and unpick its seams to lay the denim flat.
- Cut two triangular panels (one for the front, one for the back) matching the measured gap width, adding a 5/8-inch (1.5 cm) seam allowance on all sides. You can also use a contrasting fabric, such as printed cotton canvas or a different denim wash.
- Slide the triangular panel under the open V-shaped gap from the inside. Pin the outer denim edges over the inserted panel, ensuring the grain lines align straight down.
Step 5: Stitch the seams into place
Install a size 90/14 or 100/16 denim needle and heavy-duty thread on your sewing machine. Topstitch along the front overlapping seam, following the original factory stitching line down from the zipper to the hem. Topstitch both sides of the inserted triangle panel to lock it down securely. Repeat for the back panel.
Step 6: Level and hem the bottom edge
Hang the skirt on a body form or put it on to check the hemline. Because denim stretches differently along bias cuts, the side seams may sit higher or lower than the center panels. Mark a level horizontal line all the way around using chalk. Trim off excess fabric. Fold the hem up 1/2 inch twice for a clean double-fold hem, press with an iron, and topstitch around the bottom circumference. Alternatively, sew a stay-stitch line 1/2 inch above a raw edge and pull threads to create a frayed fringe look.
How to make a midi or maxi skirt using two pairs of jeans
Creating a longer midi or maxi skirt requires more length and flare than a single pair of pants provides. Combining two donor pairs provides enough fabric panels to extend the garment down to calf or ankle length.
Select Pair A to serve as the main upper bodice (waistband, hips, and upper thighs). Select Pair B as the donor garment for lower extension panels. Pair B should ideally match Pair A in wash tone, or offer a distinct contrast shade if you prefer a color-blocked appearance.
- Prepare Pair A: Cut off the legs 2 inches below the crotch line. Unpick the front and back crotch seams flat as you would for a standard mini skirt conversion.
- Prepare Pair B: Cut off both legs directly beneath the rear pockets. Unpick both the outer side seams and inner inseams of Pair B so you are left with four large flat rectangles of denim fabric.
- Form lower extension panels: Pin two rectangular leg pieces from Pair B to the front lower hem of Pair A, and the remaining two pieces to the back. Angle these panels outward slightly to form a subtle flare or A-line silhouette.
- Join and seam: Stitch the vertical panel seams together using a 5/8-inch seam allowance. Press all internal seams open with an iron.
- Fit and trim: Put the maxi skirt on to measure the finished floor clearance. Trim the bottom hem evenly, double-fold the raw denim, and topstitch across the entire lower border.
If you want to learn more about choosing pant styles for upcycling projects, see Best Common Projects Achilles Alternatives for details on sizing and silhouette selection.
How to construct a pleated denim skirt
Incorporating pleats into an upcycled denim garment adds weight, movement, and a tailored finish. Pleating works best when using light-to-medium weight denim (8 oz to 11 oz), as heavy 14 oz denim becomes overly bulky when folded multiple times.
Creating knife or box pleat inserts
Instead of inserting flat triangular panels into the front and back gaps, you can construct pre-pleated fabric inserts:
- Cut a rectangular strip of denim or heavy cotton fabric three times wider than the front V-gap width.
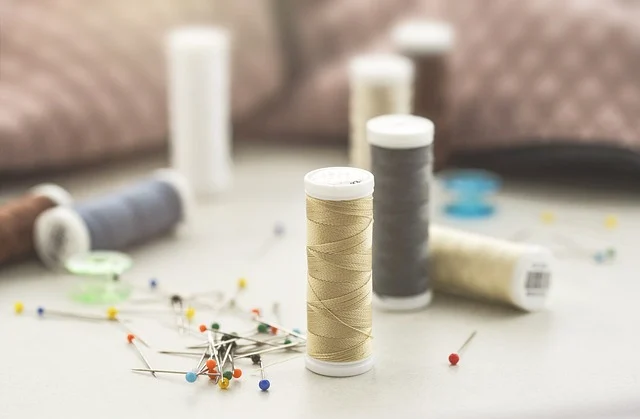
- Using a ruler and chalk, mark 1.5-inch increments across the entire length of the fabric strip.
- Fold the fabric along the marked lines to form knife pleats (folds facing one direction) or box pleats (folds facing opposite directions away from each other). Press each fold firmly using a hot iron with plenty of steam.
- Baste (temporarily stitch) across the top border of the pleated insert to hold the folds in place.
- Slide the pleated insert behind the unpicked V-opening of the denim upper section, pin securely, and topstitch down both sides of the V-opening. Remove the basting threads once installed.
How to make a no-sew jean skirt
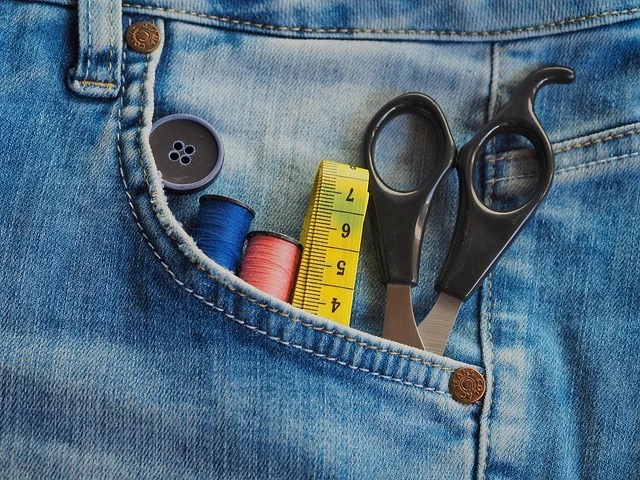
If you do not own a sewing machine or want a quick transformation, you can complete a basic mini skirt conversion using permanent fabric adhesive or heavy-duty iron-on fusible web tape.
No-sew conversion steps
- Cut the jeans to your desired mini-skirt length, plus 1 inch for hem folding.
- Unpick the inner leg seam up to the crotch using a seam ripper. Unpick the front crotch seam up to the zipper base, and the back seam up to the yoke curve.
- Lay the skirt flat on a hard surface. Overlap the front right panel over the left panel until the seam lies flat without bubbling.
- Apply a continuous bead of permanent, washable fabric glue (such as Aleene’s OK to Wash It or Barge Cement) along the hidden underside of the top overlapping flap. Press down firmly and secure with clothes pins or sewing clips while drying.
- Turn the garment over and repeat the overlap and gluing process for the rear center seam.
- Allow the adhesive to cure fully for 24 hours before wearing or handling.
Trade-offs of no-sew methods
Glue and heat-activated fusible tapes create stiff, rigid seams that do not flex like stitched thread. They are sensitive to high-heat washing and tumble drying, which can cause the bond to weaken over time. For maximum durability, a stitched seam remains superior.
Common conversion problems and how to fix them
Altering structured trousers into a single continuous skirt cylinder can create structural fitting issues. Here is how to resolve the most frequent errors.
1. The front seam forms a pointed peak or “beak”
Cause: The original curved crotch seam of a pair of pants is shaped to accommodate human anatomy. When pressed flat into a straight skirt panel, that excess curved fabric sticks outward near the base of the zipper line.
Fix: Unpick the front seam higher up toward the zipper. Slide the overlapping panel farther across until the peak disappears and lays flat against the belly. Re-pin, trim away the excess interior bulge beneath, and topstitch flat. Press the area thoroughly with an iron.
2. The rear hem hitches up higher than the front
Cause: The gluteal curve requires more fabric height than the flat front. When you flatten the back seam, it pulls fabric upwards, shortening the back hemline.
Fix: When measuring your hem in Step 1, do not cut the front and back at identical horizontal points from the waistband. Always leave 1 to 1.5 inches of extra length along the rear hem. Level the hemline only after the front and back central seams have been fully sewn and pressed.
3. The sewing machine skips stitches or breaks needles
Cause: Standard machine needles dull rapidly when hitting thick seams where four to six layers of denim intersect (such as the waist yoke or flat-felled crotch join).
Fix: Switch immediately to a dedicated Size 100/16 Denim needle. Increase your stitch length from 2.5 mm to 3.5 mm or 4.0 mm. When approaching heavy seam intersections, turn the handwheel manually toward you instead of stepping on the foot pedal to prevent needle breakage.
4. Stretch denim creates wavy, puckered seam lines
Cause: Pulling or feeding stretch denim through the feed dogs under high presser foot pressure elongates the elastane fibers while stitching.
Fix: Reduce presser foot pressure on your machine if adjustable, or use a walking foot attachment. Avoid pulling or stretching the fabric as it feeds through the needle. Pressing with steam after stitching helps contract heat-sensitive elastane fibers back into shape.
Distressing, embellishing, and custom finishing
Customizing details turns a simple upcycling project into a distinct style statement.
Edge finishing options
- Clean double-fold hem: Fold the raw edge under 3/8 inch, press, fold another 3/8 inch, and topstitch. Best for classic, structured skirts.
- Frayed raw hem: Sew a straight stay-stitch line around the bottom 1/2 inch above the cut edge to prevent unraveling past a certain point. Use a comb or coarse sandpaper across the bottom edge to pull out horizontal blue threads, exposing white warp threads.
- Distressed knee cuts and scrapes: Scrape fine-grit sandpaper or a pumice stone across pocket edges and seams to create realistic wear patterns. Use a craft knife to slice small horizontal cuts, then use tweezers to pull out vertical threads.
Decorative embellishments
Incorporate patches, embroidery, metal hardware, or contrast topstitching. Adding floral or geometric embroidery along inserted side panels disguises seam joins. Installing decorative metal rivets or side zippers along the panel edges gives the garment an industrial edge.
For additional styling ideas on outerwear pairings, see Fashion for Beginners: Building Your Personal Style Foundation for practical seasonal recommendations.
Styling your upcycled denim skirt
A converted denim skirt serves as a flexible foundation for year-round outfits:

- Casual daytime look: Pair a high-waisted raw-hem denim mini skirt with a tucked-in cotton graphic shirt and canvas sneakers or flat sandals.
- Tailored chic: Wear an A-line midi denim skirt alongside a fitted turtleneck knit, a structured leather belt, and knee-high leather boots.
- Layered transitional wear: Style a long denim maxi skirt with an oversized boxy blazer, ankle boots, and a cropped tank top.
Sources: Skirt
Frequently asked questions
Can you convert skin-tight jeans into a skirt without extra fabric?
Skin-tight jeans can only be turned into a tight pencil mini skirt without extra fabric because they lack the leg width required to flare outward. If you want an A-line shape from skinny jeans, you must insert triangular fabric panels into the front, back, or side seams.
What needle size should I use to sew denim on a home sewing machine?
Use a dedicated Denim/Jeans needle in size 90/14 for lightweight denim or size 100/16 for heavy-duty, rigid denim. These needles have a reinforced shaft and a sharp chrome point designed to penetrate dense woven fabrics without deflecting or breaking.
How do you keep the front seam flat when turning jeans into a skirt?
To lay the front seam flat, unpick the crotch seam past the curved section up to the base of the fly zipper. Flatten the left flap over the right flap until there are no bubbles or peaks, pin firmly, press flat with a steam iron, and topstitch directly over the existing seamline.
How long does a jean to skirt project take to complete?
A basic mini skirt conversion using a single pair of jeans takes about 1 to 2 hours for beginners. More complex variations, such as two-pair maxi skirts or pleated panel insertions, typically take 3 to 5 hours including measuring, seam unpicking, and fitting adjustments.